 In just a few minutes, I was able to transform them into these:
 One of my favorite fall decorations YET!
 I have an extra set available HERE in my etsy shop!
Linked to:
Shabby Nest


 In just a few minutes, I was able to transform them into these:One of my favorite fall decorations YET!I have an extra set available HERE in my etsy shop!
 I cut the containers in thirds (throwing away the top)
 I used two different containers for different sizes of pumpkins.
 Cut a larger square of batting to cover the sides of your container...
 THen cut an even larger square of fabric. Enough to gather at the top of the pumpkin and tie off.
 Gather the fabric, and batting up around the container, and use raffia to tie it up. If you chose to use a cinnamon stick, it is better to insert that before tying the raffia. Cut away extra fabric.
 I didn't insert the cinnamon sticks when I should have, thus, it was late, and I didn't want to untie them all just to have stems. Sorry.

 I used medium sized round styrofoal balls, a bundle of colored twine from Dollar Tree, and cut up cinnamon sticks, along with a glue gun.
 And just kept going all around the ball until I got to the top...
 Now to be honest, I originally thought I was going to do apples.... BUT... a little light bulb went off above my head as I got to the top and I decided to do pears instead... So as I completed the ball, I started making a swirl on top of my first layer and went out far enough to start a pear shape, then went back on top of THAT layer.... so this would be a third layer of twine (are you with me?)
 I just went back and forth, making each layer a little smaller until I got the desired height and shape of a pear! Then I stuck a piece of cinnamon stick on the top!How fun would it be to have a green set as well, along with some red apples? Might have to make a little trip back to Dollar Tree to see what colors they have left!


 I follow this amazing blog called Craft-O-Maniac. If you go there now, you can enter for a few chances to win everything you see to the left here.... but if you don't that's okay too, because then my chances of winning will be better! Ha!
 I wanted to make a "FALL" block set.
 Then I cut scrapbook paper the same size as the inside of the frame... to cover the glass.
 And after a few 'wardrobe' changes... I settled on my colors.
 With a quick cut on the cricut machine, and a rummage through my fall 'stuff'.... I came up with this!


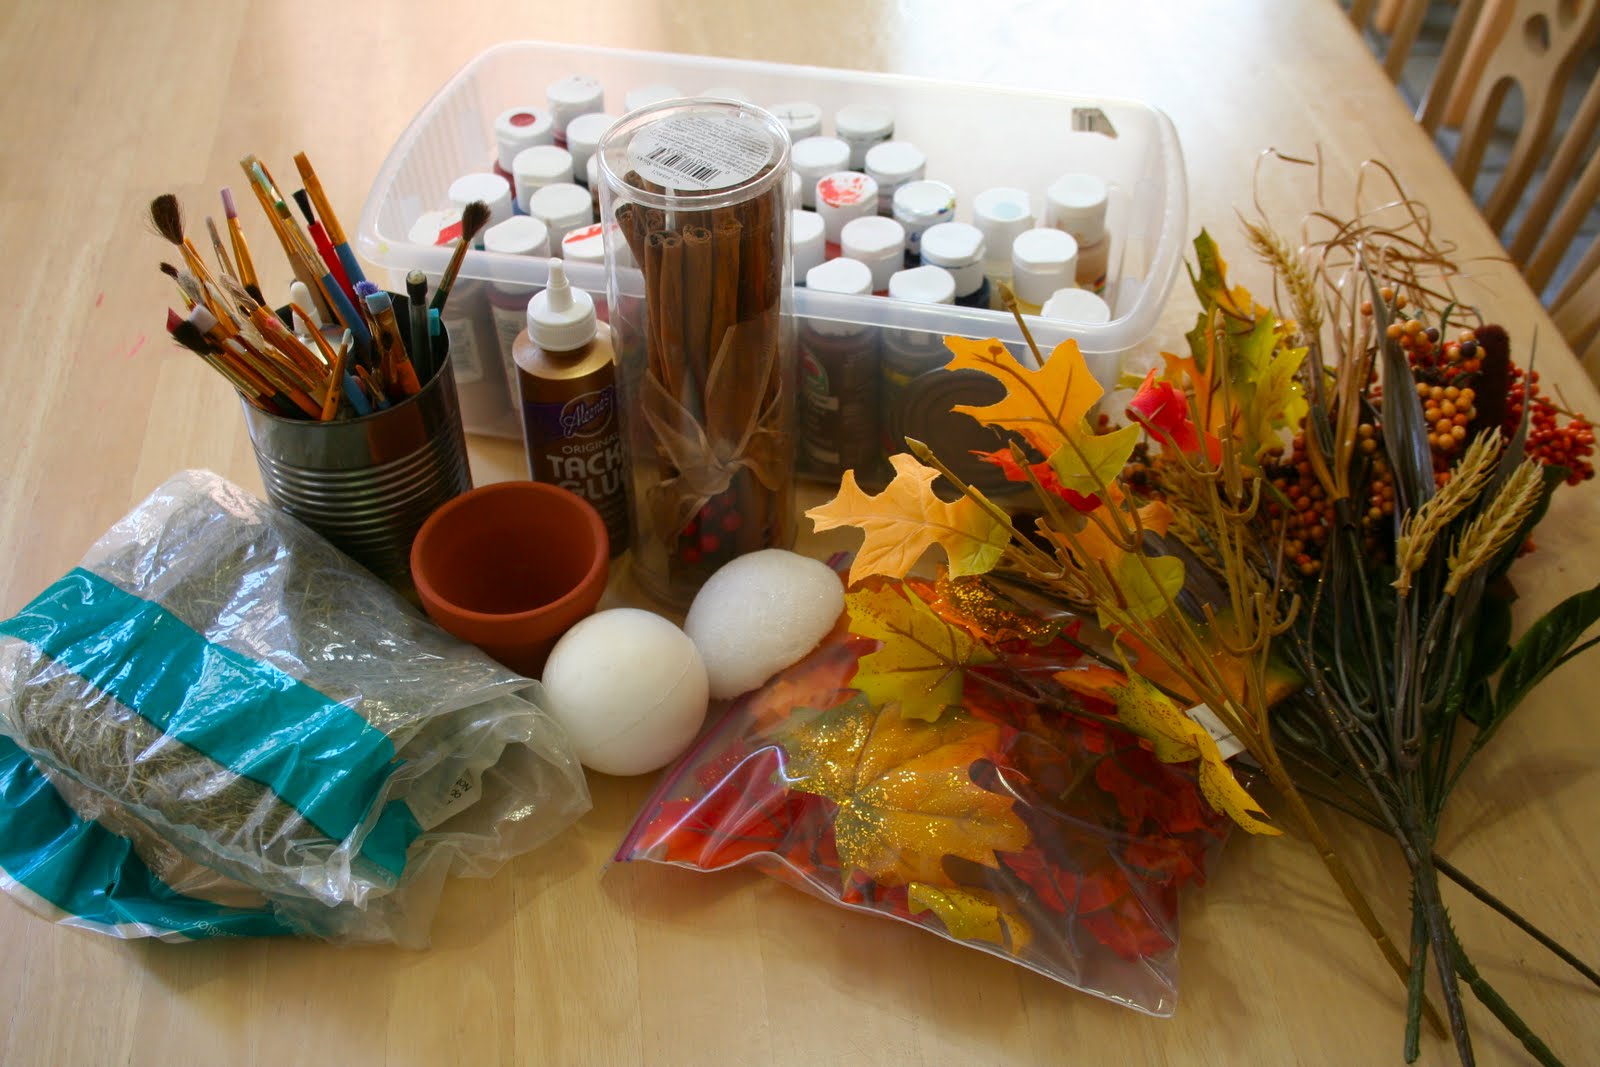 I cut all the stems off the leaves
 Pierced the cinnamon stick into the styrofoam ball (which already had a small hole in it) and then stuck the other end through the half styro ball. Then I started gluing the leaves on the ball before putting the stick into the pot... just so it was easier to handle.
 Once the leaves were in place, I glued the bottom of the cinnamon stick to the bottom of the terra cotta pot
 With the final touch of covering the base of the topiary with some moss, the topiary was complete, and ready for placement!
 And then I got some leaf stems and some picks to put on the wreath... and dug up some fall things I've had in my stash...
 And after hot glue-ing all the things to the wreath, this is what I came up with.
 I also bought a few craft pumpkins to put out until it's later and we can put out real ones! I've started seeing the pumpkin patches setting up all over.... I'm so excited! Check back tomorrow to see my pumpkin display just inside my front door!
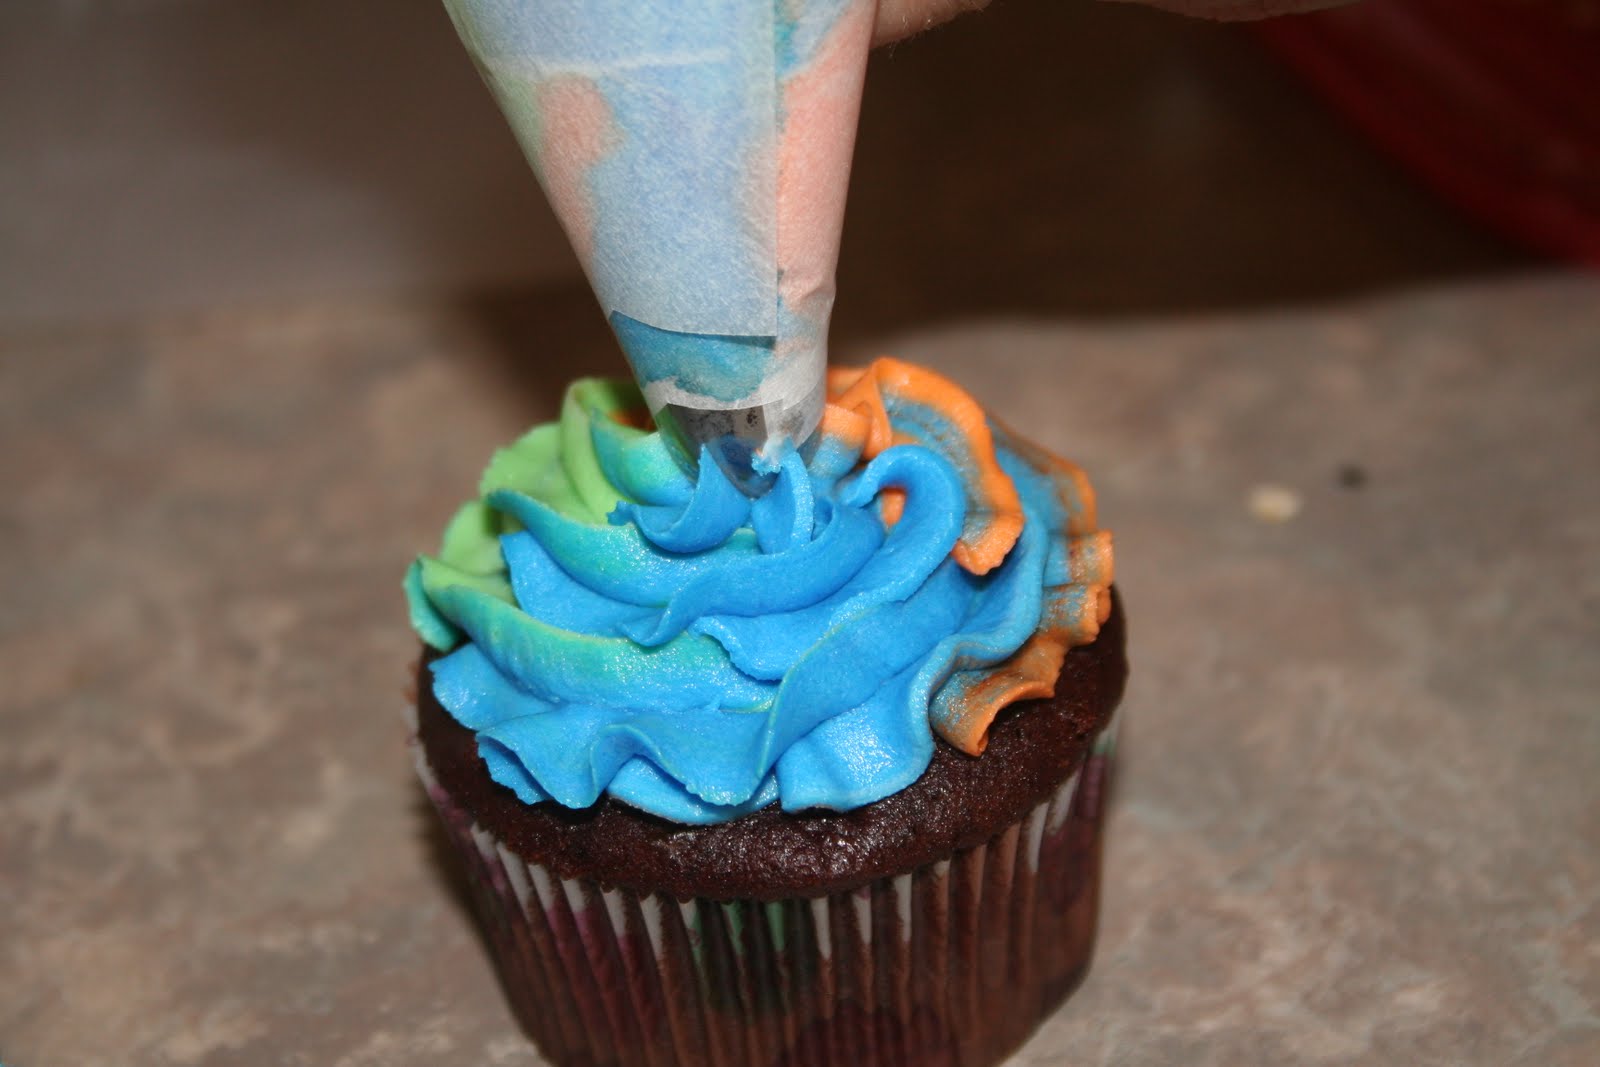
 I frosted some cupcakes for a friend of mine we went to visit today...


